|
PaintShopPro ***
*** This tutorial is made with PSP XII but can be carried out in other versions too Tube de Jet , de Chrismist et de Marif with their autorisation
Pluggins : Xero Here Graphic Plus Here Font: Here
*** 1 - Open your tubes and close duplicate originals Set foreground on color #d6d0d2 and set background on color #30344e configure gradient: style linear: angle :45°/ Repeat: 5/ Invert checked
2 - Open a transparent image of 750 x 550 pixels / fill with gradient Adjust/Blur/Gaussian Blur : 35 3 - Effects/Xero/Fritillary at default Effects/Edge effects/Enhance
4 - Selections/Select All Selections/Modify/Contract 25 pixels Give a dropshadow : 2/2/50/5/color black repeat : -2 vertical and horizontal
5 - Set foreground on color #aca9b3 and set background on color #30344e configure gradient: style radial: angle : 45°/ Repeat: 3/ Invert checked
Layers/New Layer /fill the canvas with the gradient
6 - Effects/Graphic Plus/Cross Shadow : 7 x 50 , 1 x 128 7 - Layers/New Layer /fill the canvas with the gradient halo
Selection /Select None
8 - Layers/New Layer mask/from an image/mask : "LD05zw.jpg" Layers/Delete/Layers/merging the group 9 - Give a dropshadow : 1/1/50/1/color black 10 - Give a dropshadow : 1/1/50/1/color #30344e
11 -
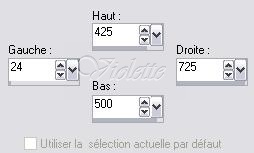
Activate the Selection Tool
D
12 - Selections /Move in layer 13 - Adjust/Brightness and Contrast/Brightness ans Contrast
Selection /Select None
14 - Layers/Arrange/Move down repeat a new Effects/Edge effects/Enhance
15 -
Activate the Selection Tool
Edit/Copy/Edit/Paste as a new layer Selection /Select None
16 - Image/free rotation of 90 ° to the left Effects/Image Effects/Offset: -310/0/ Custom/Transparent
Layers/Arrange/Move down 17 - Effects/3D Effects/Drops Shadow : 0/0/50/25/ color #30344e 18 - Duplicate Effects/Image Effects/Offset: 50/0/ Custom/Transparent
19 - Repeat n° 18
20 - Layers/Merge/ Merge Down repeat a new time 21 - Effects/Edge effects/Enhance Layers/Merge/Merge Down
22 -
Activate the Selection Tool
Layers/New Layer
23 - Open the "Marif_2007_09septembre_decor015.pspimage" tube Edit/Copy/Edit/Paste Into Selection
Selection /Select None
Blend Mode on : Luminance (Legacy) Opacity to 70% Effects/Edge effects/Enhance
24 - Activer the "chrimist" tube Edit/Copy/Edit/Paste as a new layer Effects/Image Effects/Offset: -130/117/ Custom/Transparent
Blend Mode on : Luminance (Legacy) Opacity to 75% 25 - Effects/3D Effects/Drops Shadow : 0/0/50/25/ color black 26 - Activate layer 2 /Select/Select All Selections/Float Selection / Invert
27 - Activate the layer " Chrismist " tube hit your delete key
Selection /Select None
28 - Activate the "jet-woman27-juanary-2008.pspimage" tube Edit/Copy/Edit/Paste as a new layer Image/Resize 60 %/ resize all layers not checkedrepeat a new Effects/Image Effects/Offset: 140/-37/ Custom/Transparent
29 - Right-click in Layer palette/Duplicate closed the copy Activate the original tube Effects/Distortion Effects/wind: to right/ intensity :100
Effects/Distortion Effects/Ripple:
Blend Mode on : Luminance (Legacy) Opacity to 38% Effects/Edge effects/Enhance
30 - Activate the copy:Effects/3D Effects /Drop Shadow : 2/8/50/35/black
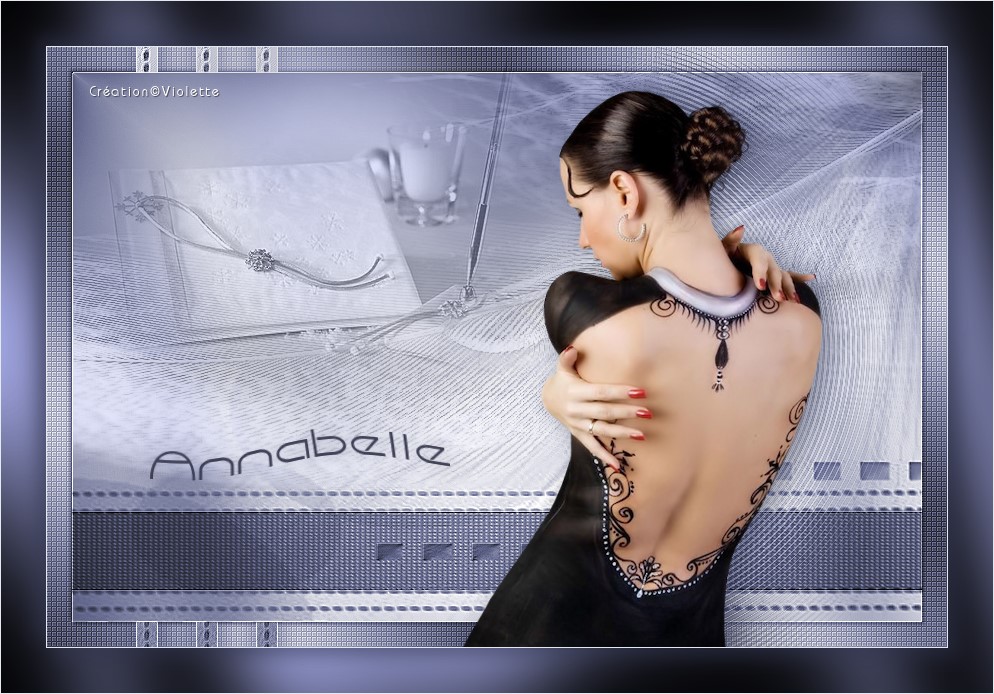
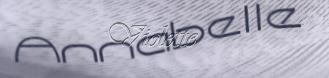
31 - Activate your Text tool/Find font Capsule/ size on 48/ color background #30344e Type: AnnabelleLayer palette/ right-click /Convert to rasterlayer
Activate the "roast
deforming"
give a curve to your text
Effects/3D Effects /Drop Shadow : 2/8/50/35/black
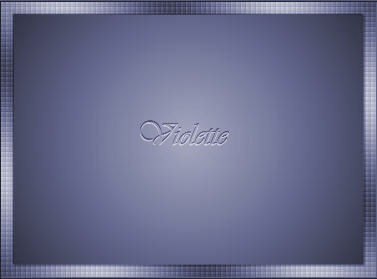
32 - Type your name 33 - Layers / Merge/ Merge all 34 - Save as JPEG File *** I hope that you like this tutoriel *** another version:
This tutoriel is of my creation It is strictly interdict to copy it or to distribute it on the Net Traduction©Violette *** Febrary 8_2008 ***
|